Tuesday, December 27, 2011

I did it!

I feel like a prize boxer that just won after nine rounds!
Because I finally got my blog page updated from the Christmas theme!
I do not feel defeated that it has taken me way more time than I think it should!

I mean.. I am victorious, because after several hours,
it looks like a pretty good rendition of what I feel is the the theme of my blog!

Boy.. this blogging is not easy to get the hang of,
but I am doing much better now after a few months of attempting to start my blog.

I am sooo happy to all my new friends and followers!
Thank you for reading my posts!
It has been so fun getting to know you all, and visit those of you with your own blogs!  

God bless you all!
Little Susie Home Maker


Thursday, December 8, 2011

Christmas is a Coming!!

 Every where I go, I am reminded that it is the Christmas season. Santa and his red suit. Red and green colors, lights, and people busy taking packages to the post office. It is a bright and happy time of year.

 We got a snow blowing in today, and it's mighty cold outside. The snow is welcome, but not fond of the winds. But it is nice to have some snow blowing around at this time of year. Just because it is so pretty.

 I will be getting my last minute preparations in order this week. Waiting for the beautiful Christmas Eve and Christmas Day to spend with family.

I will spend more time getting presents in order, baking holiday goodies, last minute decorating, and preparing for the holiday menu. It will be so exciting to watch the children enjoy the holiday and get together with family and friends.

The gift of my Savoir in which  I am so thankful. It is His day to be thought of often and remembered for the greatest gift of all.

Merry Christmas! 


Sewn Bird Ornaments

I love birds and I really like the charm of a hand made ornament. I thought it might be fun to show you these little birds I am making. These can be done with felts or your favorite fabric scraps. 
Home sewn birds on my snow frosted tree.

These fit into my Christmas decorations, but any color would be so pretty!
I chose the red because I am doing a lot of red and white this year, and red is my favorite high light color any time! They are made of fabric and or felt.

So I started by getting out my paper and drafting a basic bird shape to use as a pattern for cutting out fabric. 

I chose pinking sheers to cut out because the raw edges are going to show.


Now I used a decorative stitch in contrasting color to sew on the wings.


So either hand stitched or used sewing machine, which ever you prefer.

I decided to try an embroidered french knot for eyes,

I also used buttons.

Next, I hand sewn in a looped ribbon hanger,

a dab of hot glue is helpful here as well.

Now it is ready to be sewn around the perimeter. Sew on outside with a decorative top stitch. Again, hand or machine, with ever tickles your fancy.

Be sure to leave open a small opening in bottom to stuff the bird a little to plump him up!

After, stuffing, sew him up on bottom and he is finished! I used cotton balls to stuff mine.

They look so cute just hanging around!

Added some more embroidery and some loopy ribbons on the tail.

 Here are a few close ups.
I really like the way way they look on my real snow frosted tree outside!


These little guys are fun to make, and I bet you could make them with many different little personalities.

I think they will be around for a while at my house.

Blessings,

Little Susie Home Maker

Linking with
Old Time Party at Old Time Farm House 


Tuesday, December 6, 2011

Our Tags are Swapped!


It's time to share with my blog the Christmas Tag Swap 2011 that Sue over at It's a Very Cherry World  hosted! Thank you, Sue! What fun this has been. My partner in this was the wonderful, Deb of Garage Sale Gal! Deb is an amazing person and I love her blog, so if you haven't checked it out, I really hope you do, and tell her I said "Hi"!

Now for the fun! We set out in November to start making a tag that we would swap with our partners. I had never read Deb's blog before, but quickly knew she had a blog to follow. I found out that Deb is an avid collector of antiques and vintage finds. She also, has a love for her dear family pet dogs. She has several pictures posted on her blog of family Pets.

I wanted to make her tag personal, so I used these as clues to how I would  design her gift tag. But I will show you my results later. Now, our packages had been mailed to each other, and I was getting nervous about our exchange. You know, the good kinda nervous, where you just can't wait. Then finally it happened, and I got my pretty little package in the mail! Oh, it was so pretty wrapped in a golden angelic Christmas wrapping paper with the mailing label on top! My it is already looking good!


I opened the box with anticipation, and wow! Look at this beautiful little tag! Jesus is the Reason for the Season.

It has been stamped and embossed in the stunning golden and green glitter. And a pretty ribbon. It looks elegant and I am very pleased! But look.. it is resting on top of white glitter tissue paper.

I fold back the tissue paper to reveal what is inside..
A little box of treasures, with this nice note from my new friend, Deb.
And look at all the vintage goodies.. a Santa and a Snowman cupcake topper!
I will play house with these and the white glitter Church ornament, and a little tree from a snow scene!
A really charming old Nativity Christmas card, and a beautiful Christmas ornament of a church. A vintage Christmas post card, too.
Now here is a special tag. This must be the special one!
If you look close here there is a little pin tack of some chickadees on a sprig of holly.
Now isn't that a clever idea?
I love chickadees! Some of my favorite little buddies just outside my window every day!
The tag background is a gold embossed doily, with red gems in each corner!

The pretty gem studded Christmas tree and the Merry Christmas banner are raised for a 3-D effect!
Very Nice!
The tie is a red, green and gold cord with tassel.
Elegant! Deb, it's just great.
Oh, look.. a tag that Deb made from an old vintage Christmas print of a snow man. Isn't he cute!

There are some chocolate goodies. Yummy!!
There is a oh so pretty little vintage Poinsettia handkerchief. Isn't the most delightful handkerchief?

As I start to reveal all that is in the box, I am so overwhelmed with the kindness that she has shared with me.
Deb has taken the time to really put an effort into our swap, and I am thrilled with the tags and other goodies she has included for me.

Deb, you are so kind, Thank You! Thank you So very much. You have made me happy.

I am really hoping that Deb is going to like my swap that I sent to her. We can check out what she thinks over at her blog, Garage Sale Gal.

But here is a sneak peek...

Merry Christmas to all!
Blessings,
Little Susie Home Maker

Sunday, December 4, 2011

Salt Dough Ornaments


If you feel like getting your hands into your Christmas crafts, this is the perfect one! You can definitely include your children and have a lot of fun with this, too. So with just three simple common house hold ingredients lets whip up a batch of Salt Dough.


Salt Dough Recipe

1 cup salt
2 cups all purpose flour
1 cup cold to luke warm water


  • Mix salt and flour together in a large bowl.
  • Then slowly add in the water and stir well, until it begins to form a consistency of dough.
  • Knead the dough for 5 minutes, adding a few more drops of water as needed (but not making it too moist). The dough will become smoother, the more you knead it.

 Directions to make ornaments
  • That simple.. now you can divided and roll it out about 1/8 - 1/4 inch thickness. Keep unused dough in airtight container or plastic wrap.
  • Use cookie cutters, or create shapes like you would with playdough. It's up to you and your imagination. Have fun.
  • For hanging ornaments use a straw to punch out holes in "cookie" to thread a ribbon through after finished. You can also push a wire ornament hanger or paper clip into it to dry in place.
  • Then let the ornaments dry on cookie racks or wax paper for about 2 days, turning occasionally.
  • Optional baking method to dry ornaments and get a little golden color, bake at 200*F in oven on cookie sheets with aluminum foil gently laying over top to prevent too much browning. Drying time depends on humidity, and your oven. 
  • I like to heat for 200*F in the evening for a few hours while I can monitor them. Then leave them in oven overnight with the heat turned off. They will usually be dry in the morning, unless they were very thick to begin with. If not dry in the morning, just monitor at 200*F until they dry, another hour should be long enough.   Or just let air dry for the rest of the day.  Watch you don't burn them!

 After drying decorate
  • Acrylic paints,  fabric paints, puff paints, glitter, ribbons, etc.
  • Gingerbread men and Christmas cookies are very fun to decorate with puff fabric paint. Looks just like icing! 
  • You can also leave plain. That works, too.
  • Make a pretty hanger with ribbons.
Longevity
  •  Finally, spraying your dough craft with polyurethane or varnish, will seal them and make them last for years to come. But this is optional.
The main thing is to have fun with family and friends of all ages. Get your do-dads ready and have fun making what ever you can imagine. Then you get to bake them in your own oven. Watch a Christmas movie or eat lunch, cookies, cocoa, etc. Then after a few hours decorate, or decorate the next day. Just enjoy!

I hope this is a fun Christmas craft to share.
Blessings,
Susie

Wednesday, November 30, 2011

Me and Christmas


1. Wrapping paper or gift bags?
 I really love wrapped presents. 
But I enjoy the time you save on bags, so I do both!

2. Real tree or Artificial?
 I really wish I said real tree because they are so lovely, and smell good. 
But the truth is my trusty artificial  one is going on 17 years, I believe? 
It makes me sad to see a tree chopped down. 
We live on a prairie and have spent just under the last two decades planting 
hundreds of trees and shrubs on our property, turning it into a little wild life haven, 
so I really value the living life of a tree.


3. When do you put up the tree?
Usually, we wait until a weekend night just about 2-3 weeks before Christmas. 
We like to make a family event out of this, with music and holiday treats.
The kids want to hear the stories behind every ornament!

4. When do you take the tree down?
 I like to take the tree down just before New Years Eve. 
My kitties have been sleeping in the branches and tearing down the ornaments long enough! 
Ha ha, they think the tree is for them, sillies!

5. Do you like eggnog?
 I love Eggnog! My whole family will slurp it down before I get a taste!
We are holiday eggnog junkies. 
I love to use it in my coffee.


6. Favorite gift received as a child?
 I remember the year I got "Baby Bunny"!
She was a pretty little baby doll that was mechanical. 
She moved her arms up and down, 
and could be place on a riding bunny. 
With her arms extended and her kicking away, 
it was fun to play that she was galloping along on a bunny!
Hey, I wonder whatever happened to her! 
Does anyone else remember this toy?

7. Hardest person to buy for?
Teen age girls, and most men, like brother-laws. 
I just can't seem to get it right all the time. 
They boggle my creativity!

8. Easiest person to buy for?
 My mom, she is always happy no matter what, 
and I do love to make her happy. 
I will include my teenage daughter second here,
because she is good about letting me know her interests.

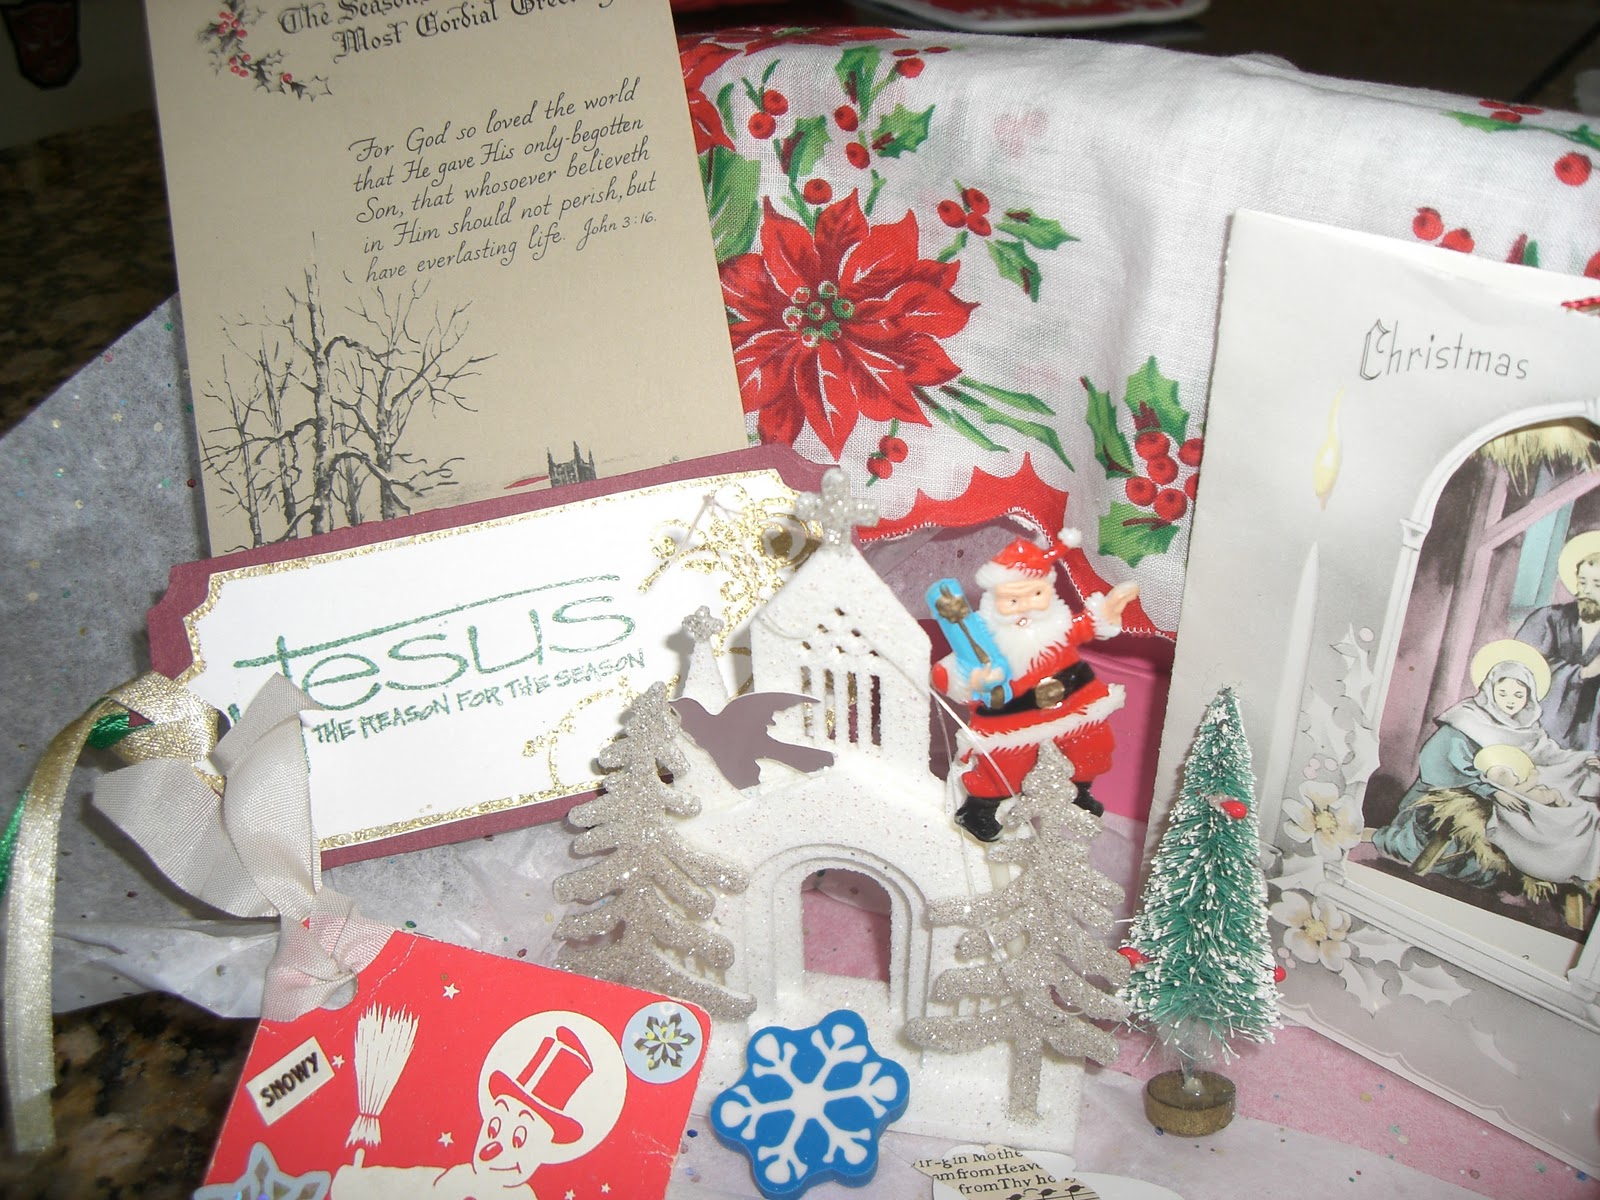
9. Do You have a nativity scene?
 I have a store bought one, 
that I add little animals from the local feed store toy area. 
I also have one I made from hand built clay 
that I made in my early college days!


10.Mail or email Christmas cards?
 I mail real cards to my recipients through the post office. 
I always enclose pictures of my kids.
I think this is one time of year to really enjoy checking our mail boxes.
You really don't get the same feeling with e-mail cards.

11. Worst Christmas gift you ever received?
 Dare I say it is a tie? 
One year I received a bottle of wrinkle cream (I was in my 20's) 
and the next year I received an empty wrapped pink box. 
It boggled my mind a little? Was this a sly insult?
(same person)

12. Favorite Christmas Movie?
 Rudolph the Red-Nosed Reindeer...every years since I was a kid 
this has been on TV, and then I finally feel like, 
"Okay, now it is Christmas"!

13. When do you start shopping for Christmas?
 Hit after Christmas sales if anything is what I can store for a year.
But mostly, sporadically in November, The frantically in December!

14. Have you ever recycled a Christmas present?
 Only once, and I got caught!
It was a tin of hard Christmas candies, 
I let my daughter re-gift it to her 1st grade teacher.
When I went to pick her up from school she thanked us for it 
and my daughter told her,
"Yes, my mom was glad she never ate it last year
when she got it!"
I was really embarrassed.

15. Favorite thing to eat at Christmas?
 Homemade Tamales!
Started with Grandma Josie!
Yummy family tradition.

16. Lights on the tree?
 Yes, lights! Of course.. and lots and lots of them.
But I don't like it to look like a wiry mess, 
so, I go up and down and around each branch. 
Takes a while but is worth it!

17.Travel at Christmas or stay home? 
 We don't travel far. 
The family almost all live within a 75 mile radius, 
so we take turns at mom and dads 
or my another family member home!


18. Open the presents Christmas Eve or morning?
 Christmas morning my kids wake me and my husband up, 
or so they think.. and we open our gifts. 
spend Christmas Eve with my husbands family, and gift exchange, 
and Christmas Day with my family and gift exchange.


Now it is your turn to play and post this little questionnaire.  
Come back to let me know so I can read your answers.
Have fun getting to know each other. No wrong answers!
So go ahead and play along!
 
Merry Christmas!
Little Susie Home Maker

Sunday, November 27, 2011

Chocolate Chip Cookies in Jar

Christmas is a wonderful time to share all your handcrafted talents. I wonder how many of you give away hand made gifts this time of year? What percentage of gifts you make? I know that I always make something for someone with my own two hands. I also prefer these gifts. These are gifts with real heart put into them.

I have been known to be in my kitchen on Christmas Eve, still putting together all the layered cookie ingredients in a jar. (I have the recipe below.) Yes, I sometimes am that bad! It's usually not that I wait, it's that I plan too much for too many people. So being a little more organized and figuring out just how much time you can spend each day before gift giving day is essential! That is something I am going to focus on for the rest of this season.

So plan on relaxing and enjoying the time you spend with your close ones, and enjoy the time you put into the hand made gifts you make. I am off now, to finish some pretty tree ornaments!


Chocolate Chip Cookies in a Jar
1 cup packed brown sugar
1/2 cup white sugar
1 1/2 cups semisweet chocolate chips
2 cups all-purpose flour
1 teaspoon salt
1 teaspoon baking soda

Mix together salt and baking soda with the flour. Layer the ingredients into a 1 quart, wide mouth jar. 

Cut out a 9 inch-diameter circle from pretty fabric of your choice. Place over lid, and secure with pretty covered hair rubber band. Or you can tie on a raffia or ribbon.  

Attach a card with the following baking directions.
 
Chocolate Chip Cookies 
Add ingredients in bold to mix in jar
  • Preheat oven to 375 degrees F (190 degrees C). 
  • In a large bowl, cream 1 cup of unsalted butter or margarine until light and fluffy. Beat in 1 egg and 1 teaspoon of vanilla. Mix in cookie mix. 
  • Drop teaspoonfuls of dough, spaced well apart, onto a greased cookie sheet.
  • Bake for 8 to 10 minutes in preheated oven, or until lightly browned. 
  • Cool on wire racks.
  • Makes 4 dozen


Saturday, November 26, 2011

Farewell Fall Leaves

With Thanksgiving past, and what a wonderful time it was, I am now switching gears to prepare for Christmas. For me this means saying farewell to the gorgeous Autumn color pallet.
I will first take down all my Autumn leaf garlands and little pumpkins and gourds, etc. Out with the oranges, yellows, reds and browns. What a pretty pallet of colors.

This always makes me a little sad because I don't believe my Harvest theme gets enough time to be on display. Next year I must start right in September!

Just like my pretty trees, the leaves just start to glisten in gold and a cold snap hits and BOOM! They all drop to the ground! Don't blink or you will miss it.
So I decided to share a couple of pictures I took of my large Cottonwood tree that was in full golden beauty just a few week ago. I really believe that trees change to these fire colors in the Fall so we will look at them in awe. Not to mention, make us feel as if we are really the worlds greatest photographers.

It is really God that does all the work, but He gives us these beautiful views to photograph, paint, or just enjoy. We can feel good about it. Thank you Father for the beautiful Autum color pallet! I love it.

Hope you enjoy my trees pretty fall colored leaves!

Blessings,
Susie


Tuesday, November 22, 2011

Liebster Blog Award...My Picks!


Liebster Blog ...
I received such a wonderful surprise! While looking at a comment on my Date Bars I received a message from Shirley of Zetta's Aprons. She informed me that she has chosen me to be one of her picks for the Liebster Blog Award.  This award is to showcase up and coming blogs with less than 200 followers.

I am very happy to be recognized from a fellow blogger. I have only started my blog and want it to be a blessing. This award has made me feel blessed. It is a rewarding feeling to know that someone is enjoying my blog and wants to share that feeling with others. Thank you kindly, Shirley.  If you haven't visited her blog, I urge you to soon.

Below you will find my picks. Congratulations, I pray that your blogs are a blessing and that anyone reading this post will take a peek at my blog pick's for this award, as well. They have been fun and rewarding for me to read.

The rules are to copy and post the award pic to your blog; thank and link back to the person who gave you the award.  Then pick 5 more blogs and leave them a comment.

I enjoy my picks, they are really the best. Thanks for letting me get to know you and bless you all!
Little Susie Home Maker

Valentine Swap 2017

 Don't you think Valentine swaps are fun? I sure do. Vivian had a nice big swap year That I signed up for and my partner was Cindy fro...